Step 1 of 5: Log in to your Cube6 Account and Select ChatGPT Integration
-
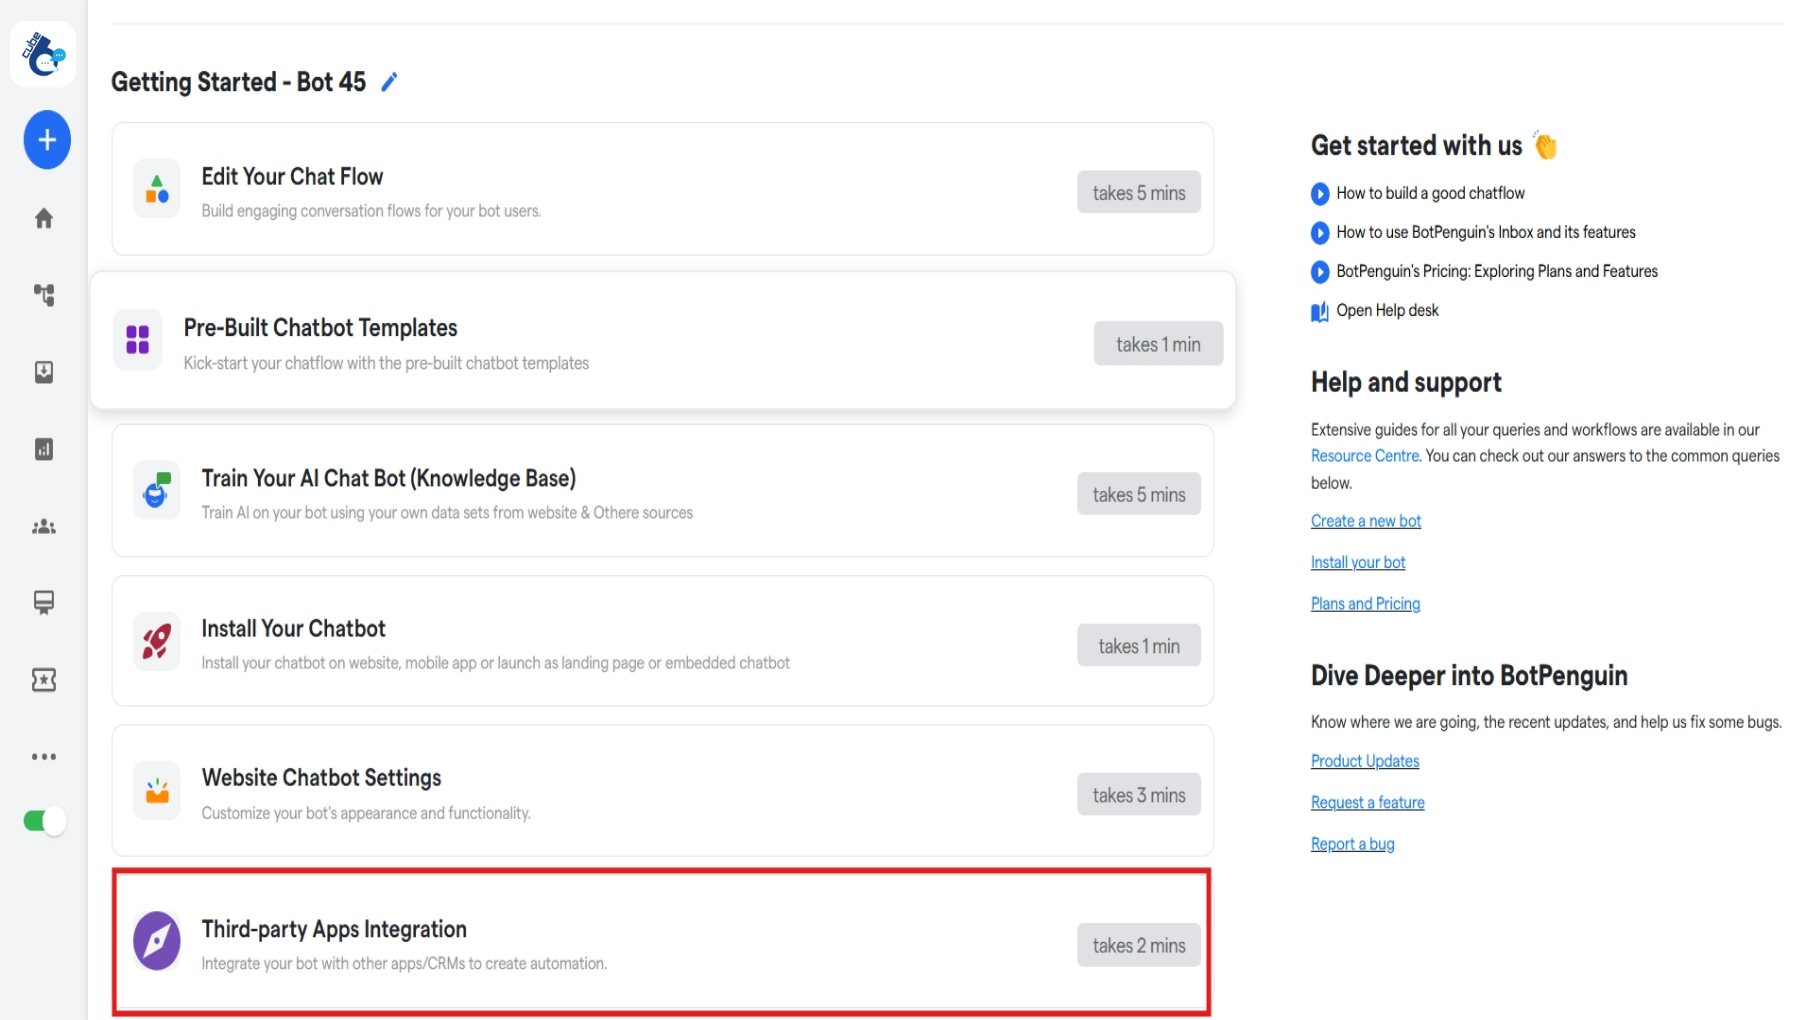
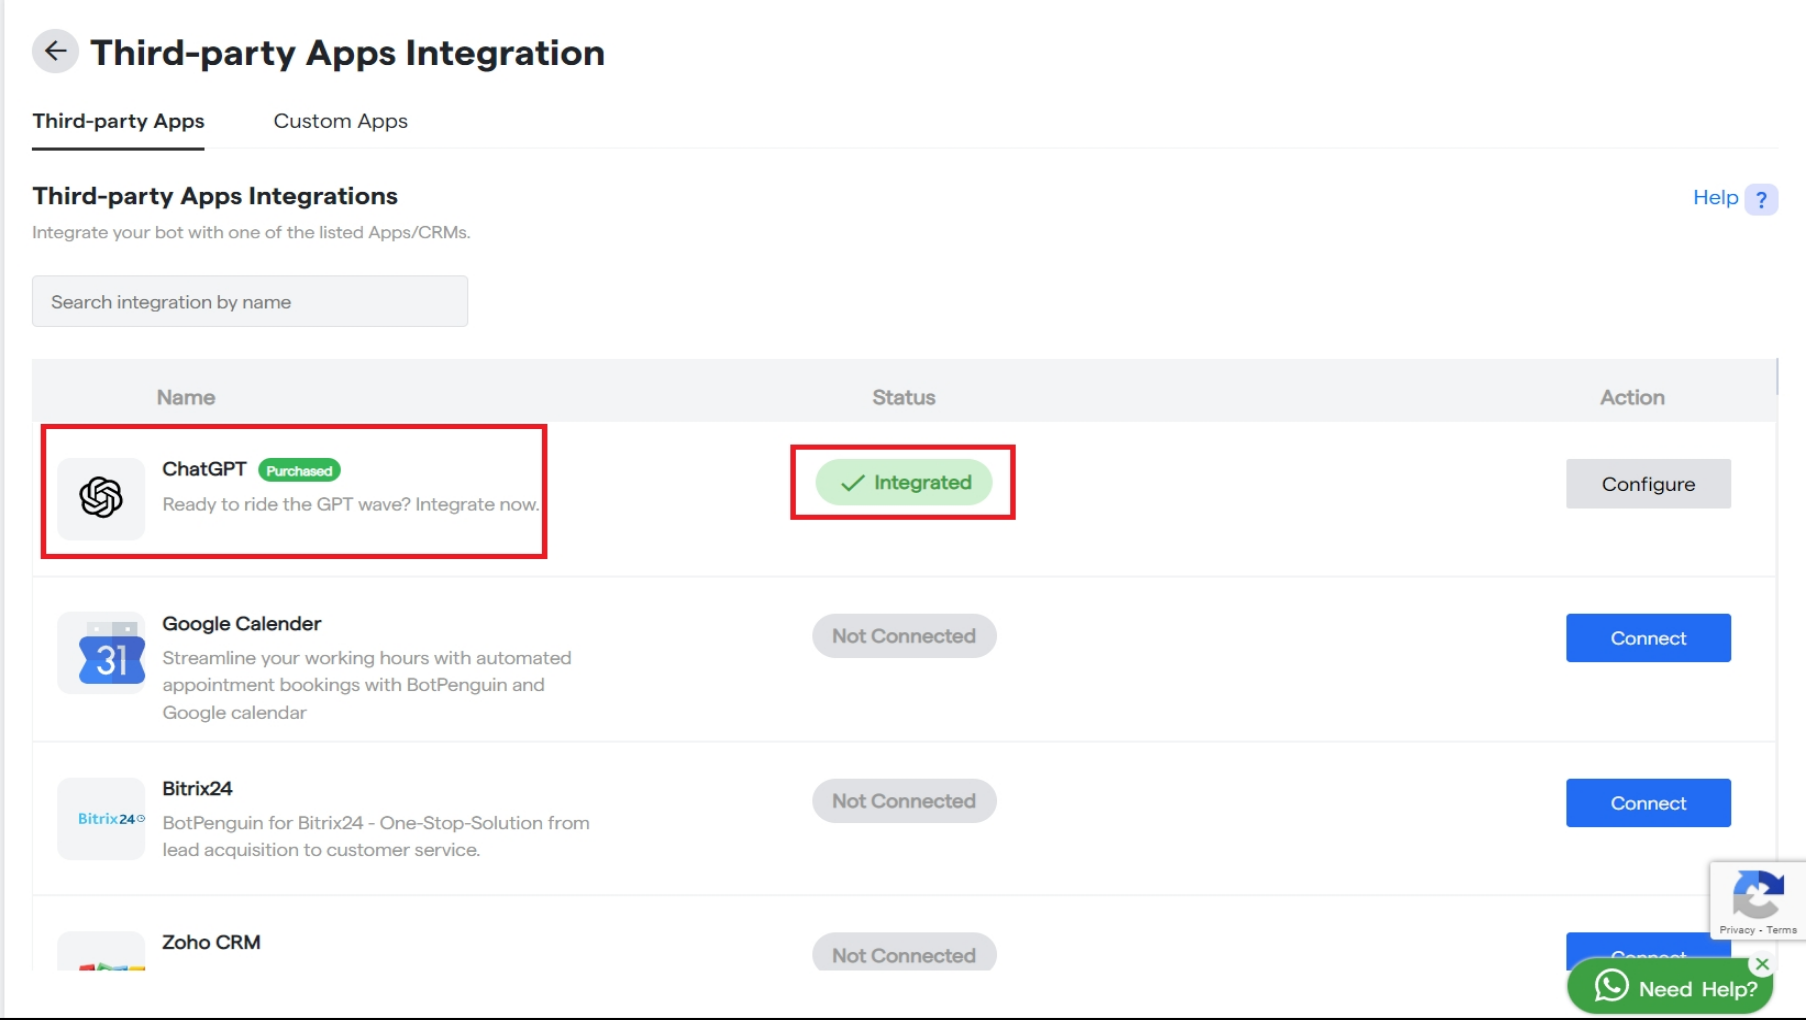
Login to your Cube6 account. Then, select and click the Bot you want to integrate with ChatGPT. Click on the “Third Party Apps Integration”
- A list of all native integrations for Cube6 will be available in this window. Find ChatGPT by
- Either by scrolling down the list, or
-
By typing ‘ChatGPT’ in the Search Box with the placeholder “Search Here”.
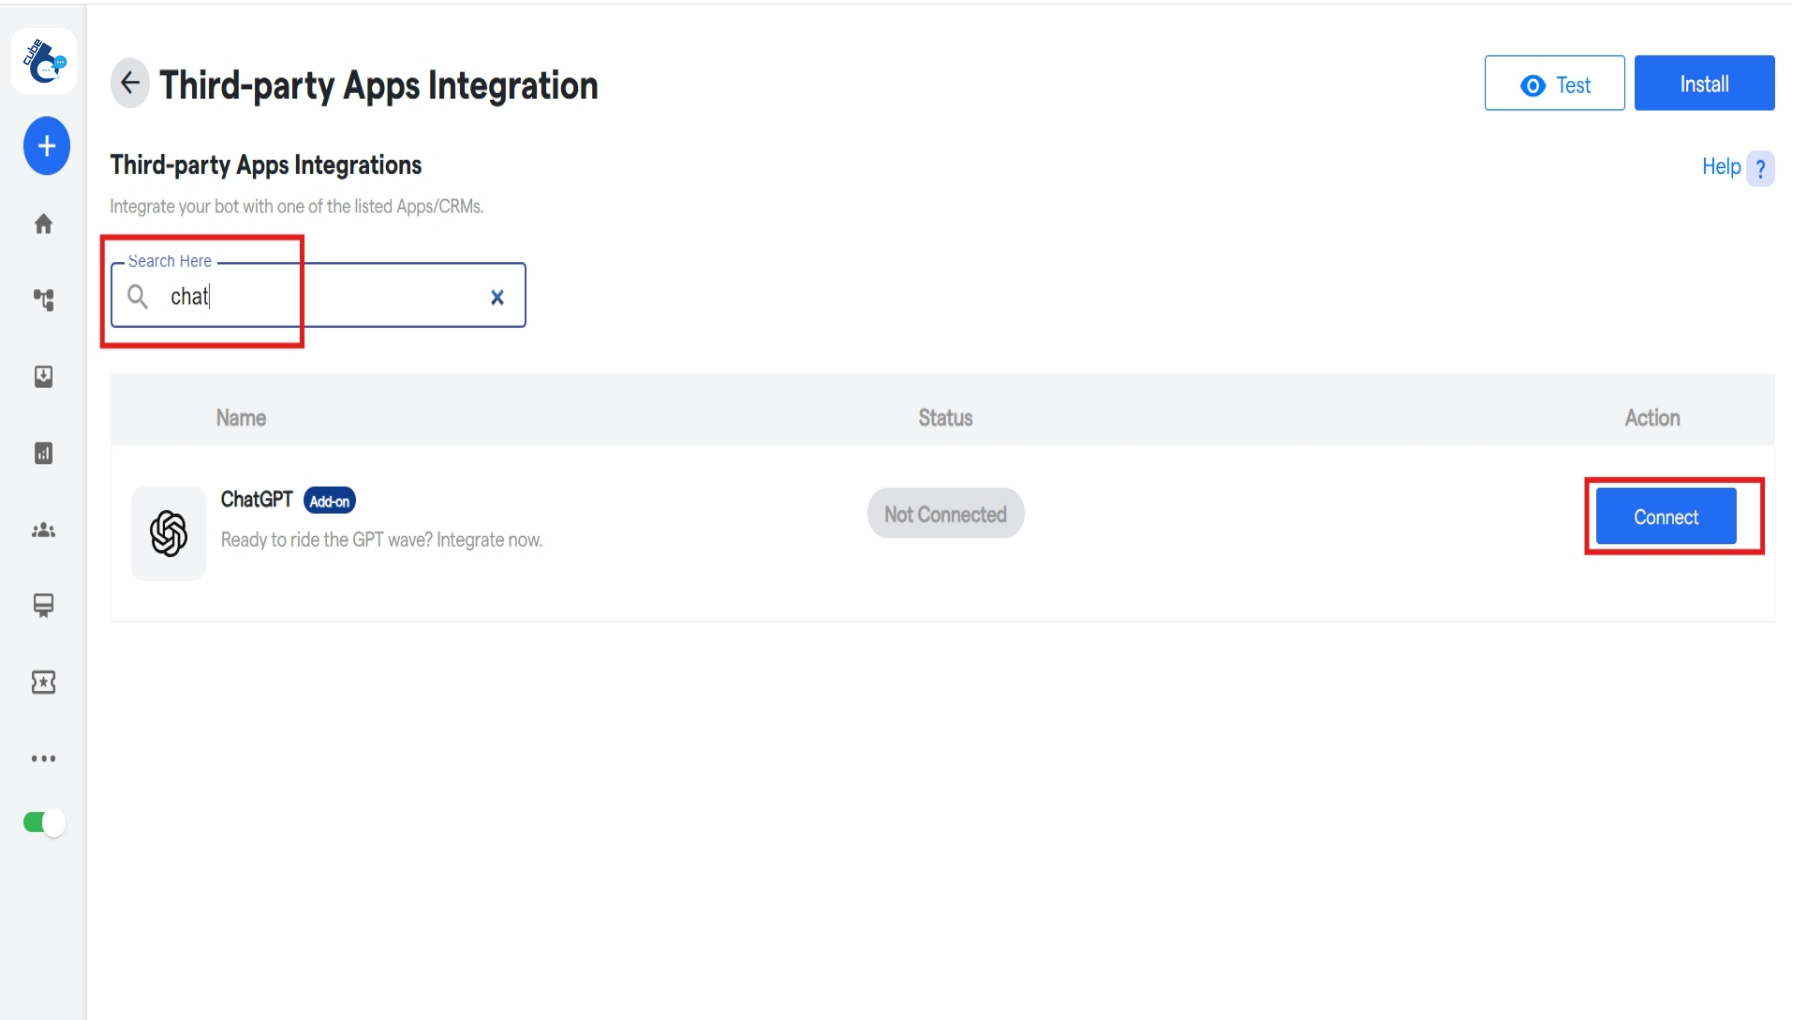
- Click On The ‘Connect’ button as shown.
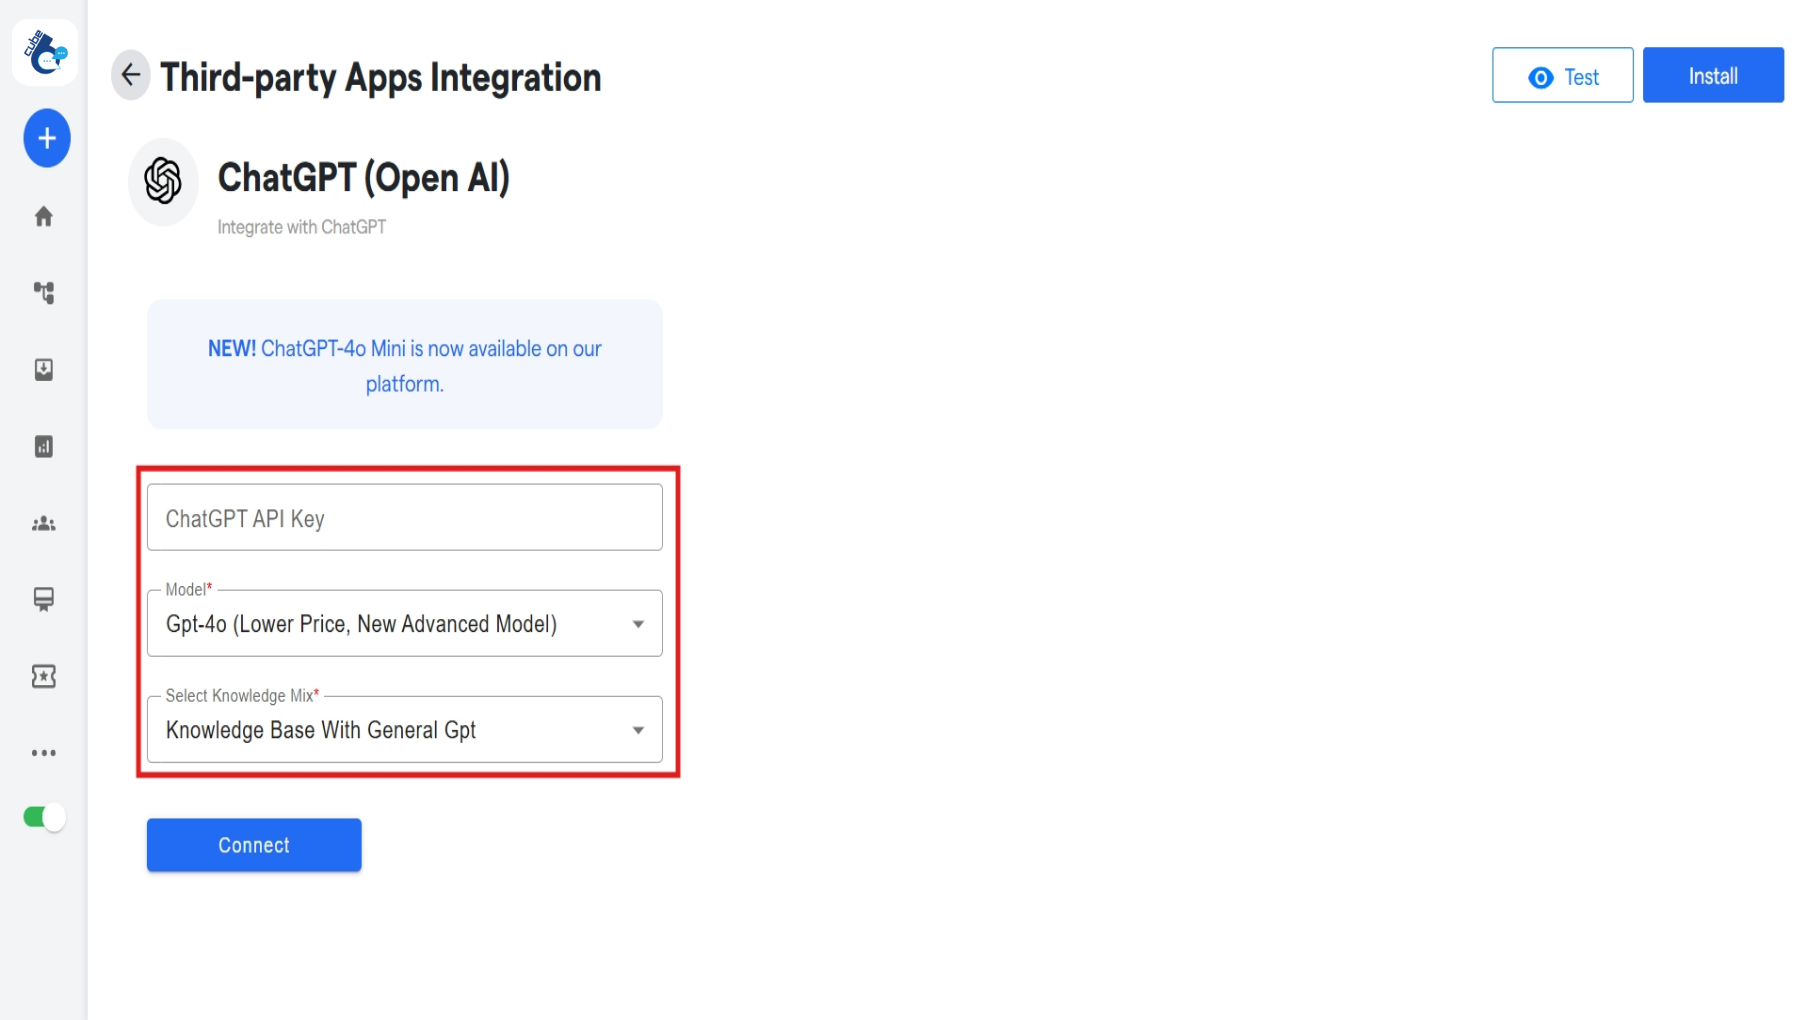
- An Integration Details page will show up. Continue by clicking on the “Connect” button.
-
Enter all the details shown on the subsequent page to connect ChatGPT to your chatbot.
Step 2 of 5: Find your Authorization Key/Token in App Account
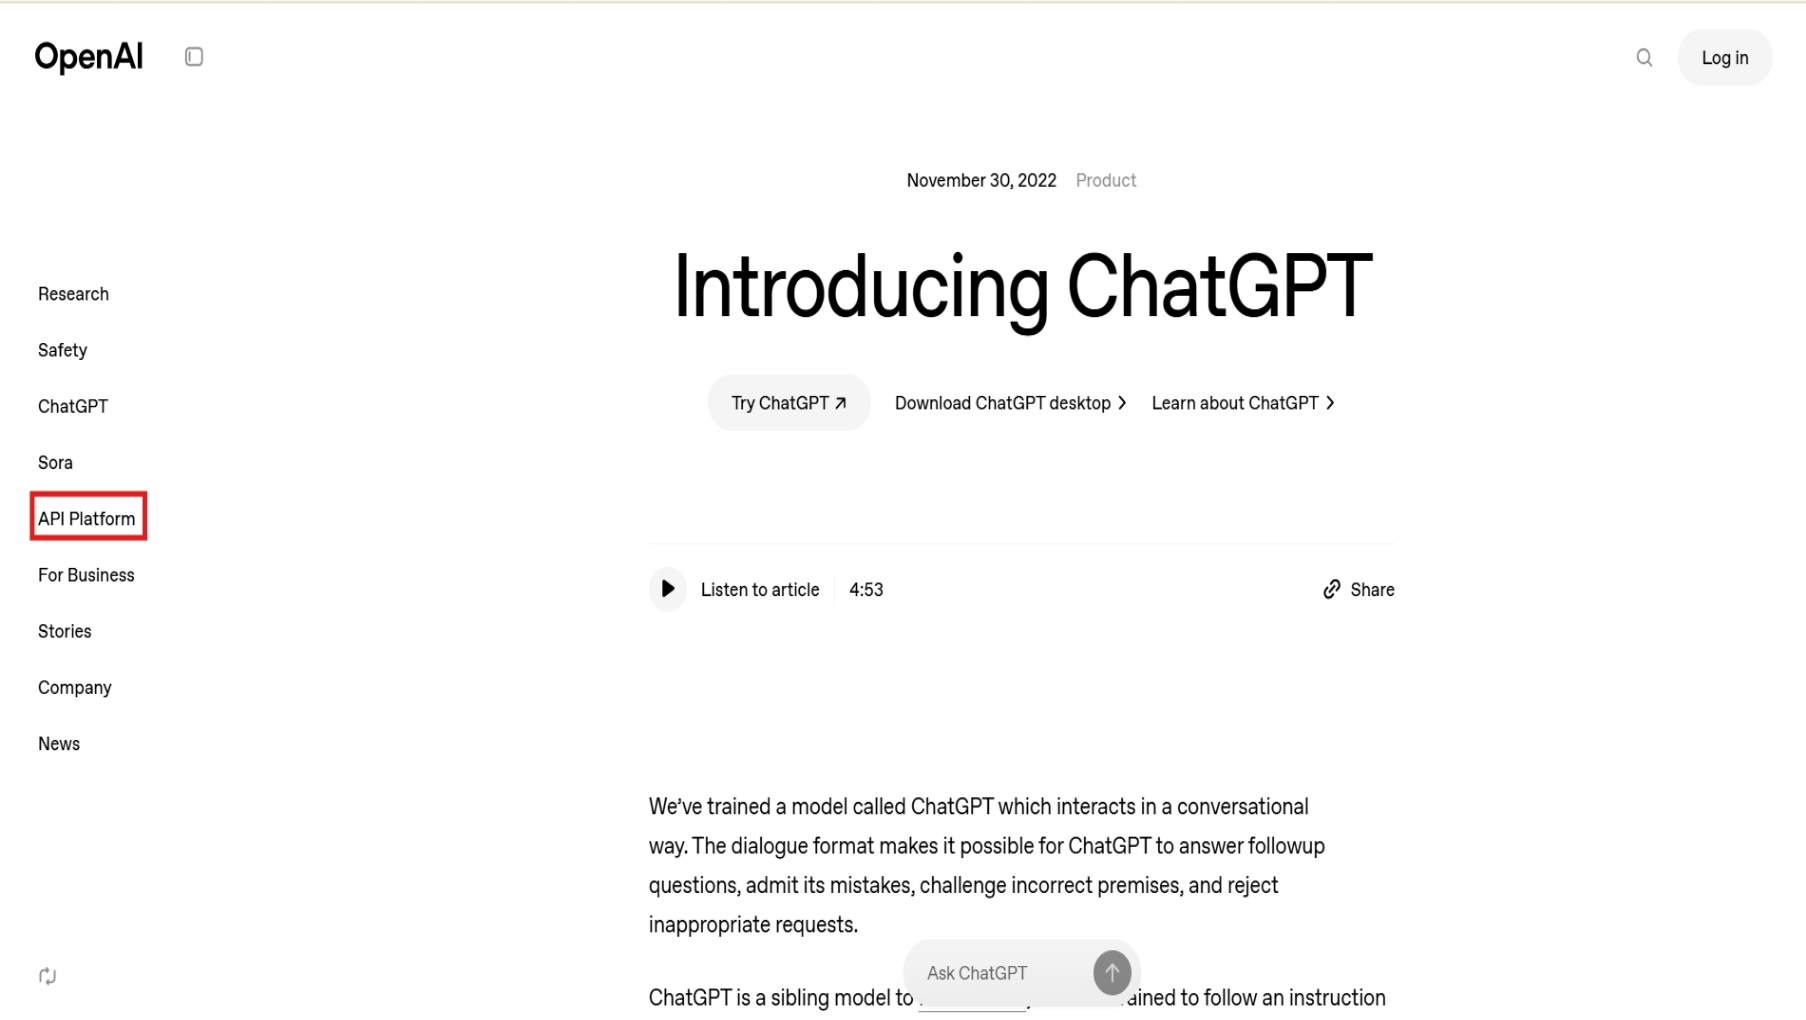
- To get the API Token, log-in, or create the Open AI account, and on the main dashboard.
-
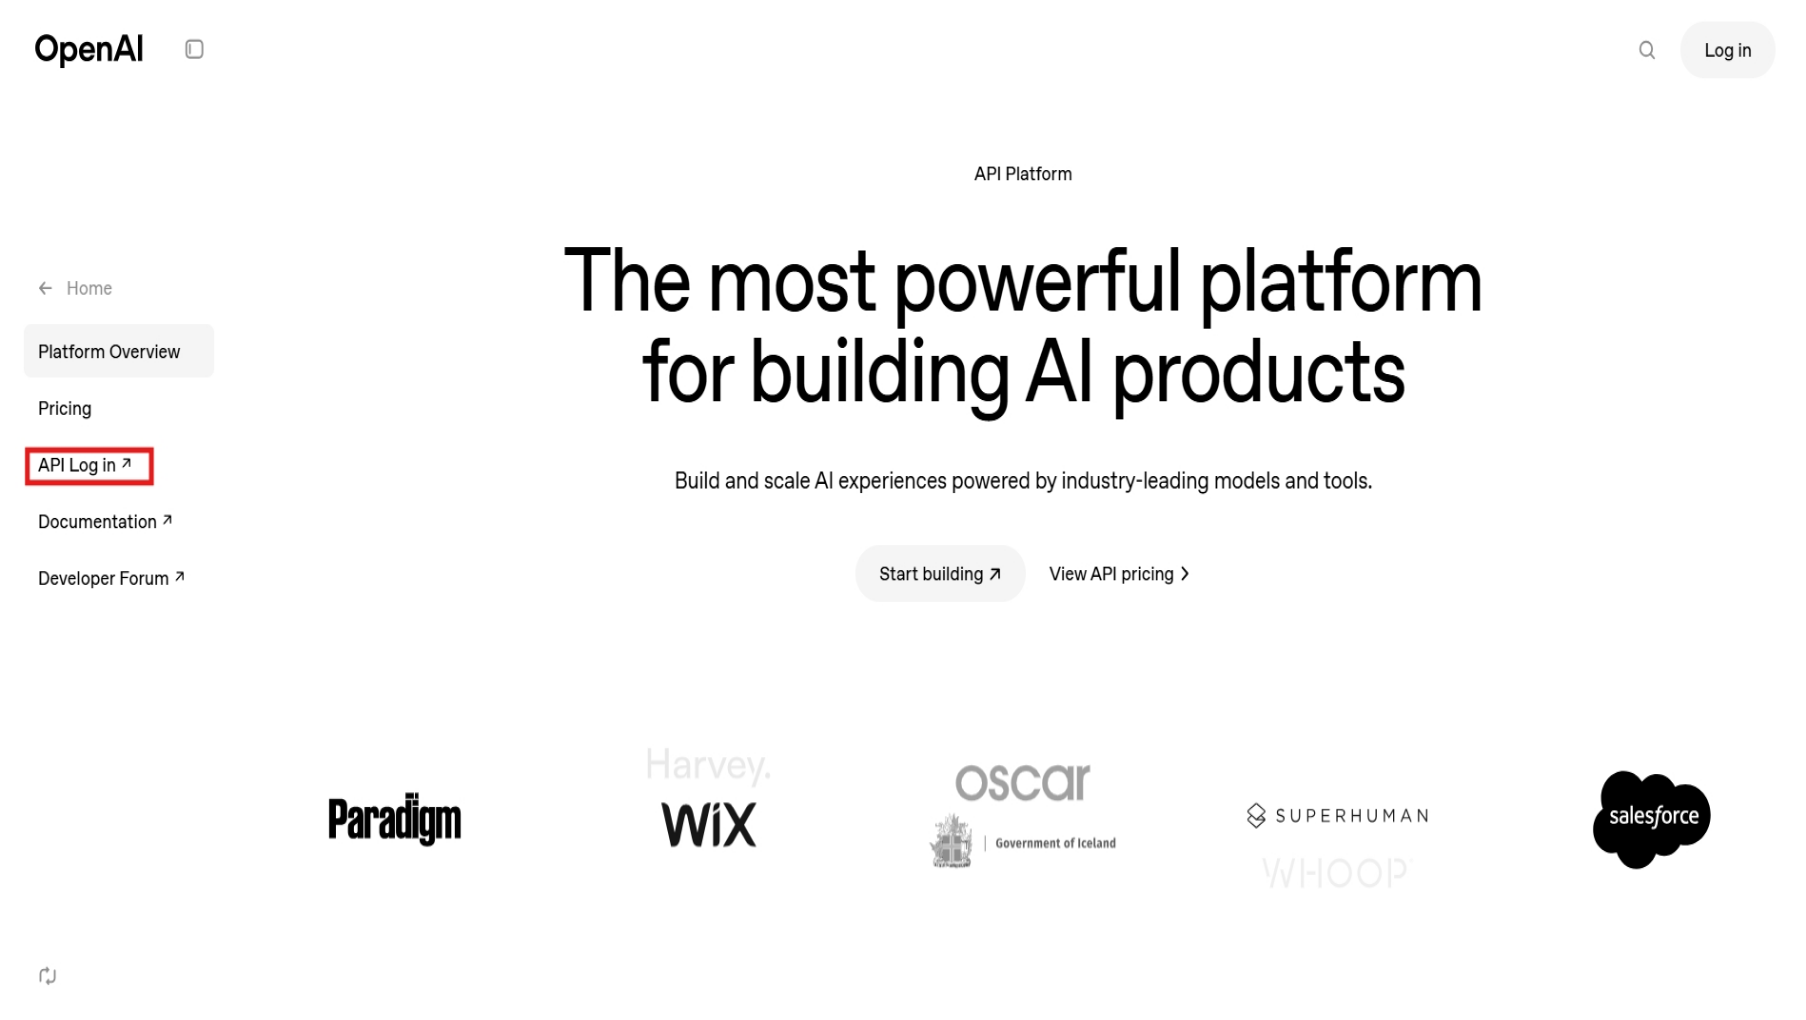
Click on the “API Platform” on the left hand side, followed by the “API login”
-
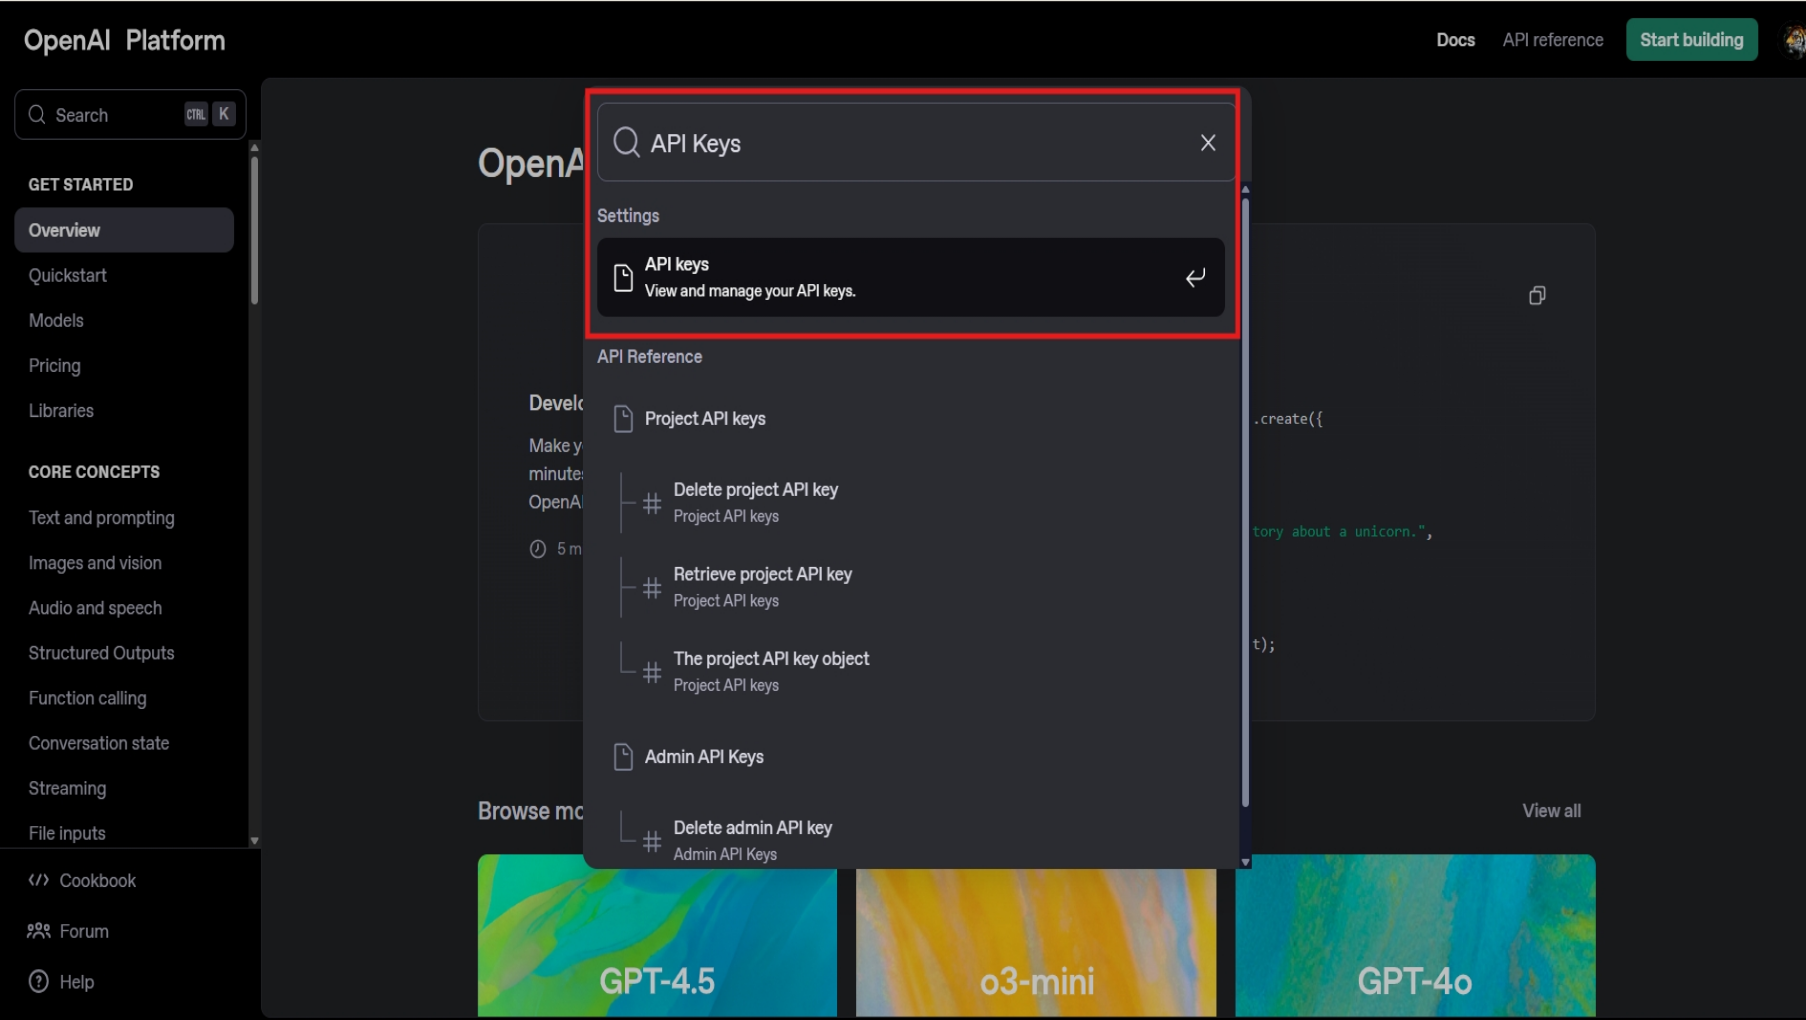
You will be directed to the “platform.openai.com/docs/overview” page, where search for “API Keys” in the search bar and select the option.
-
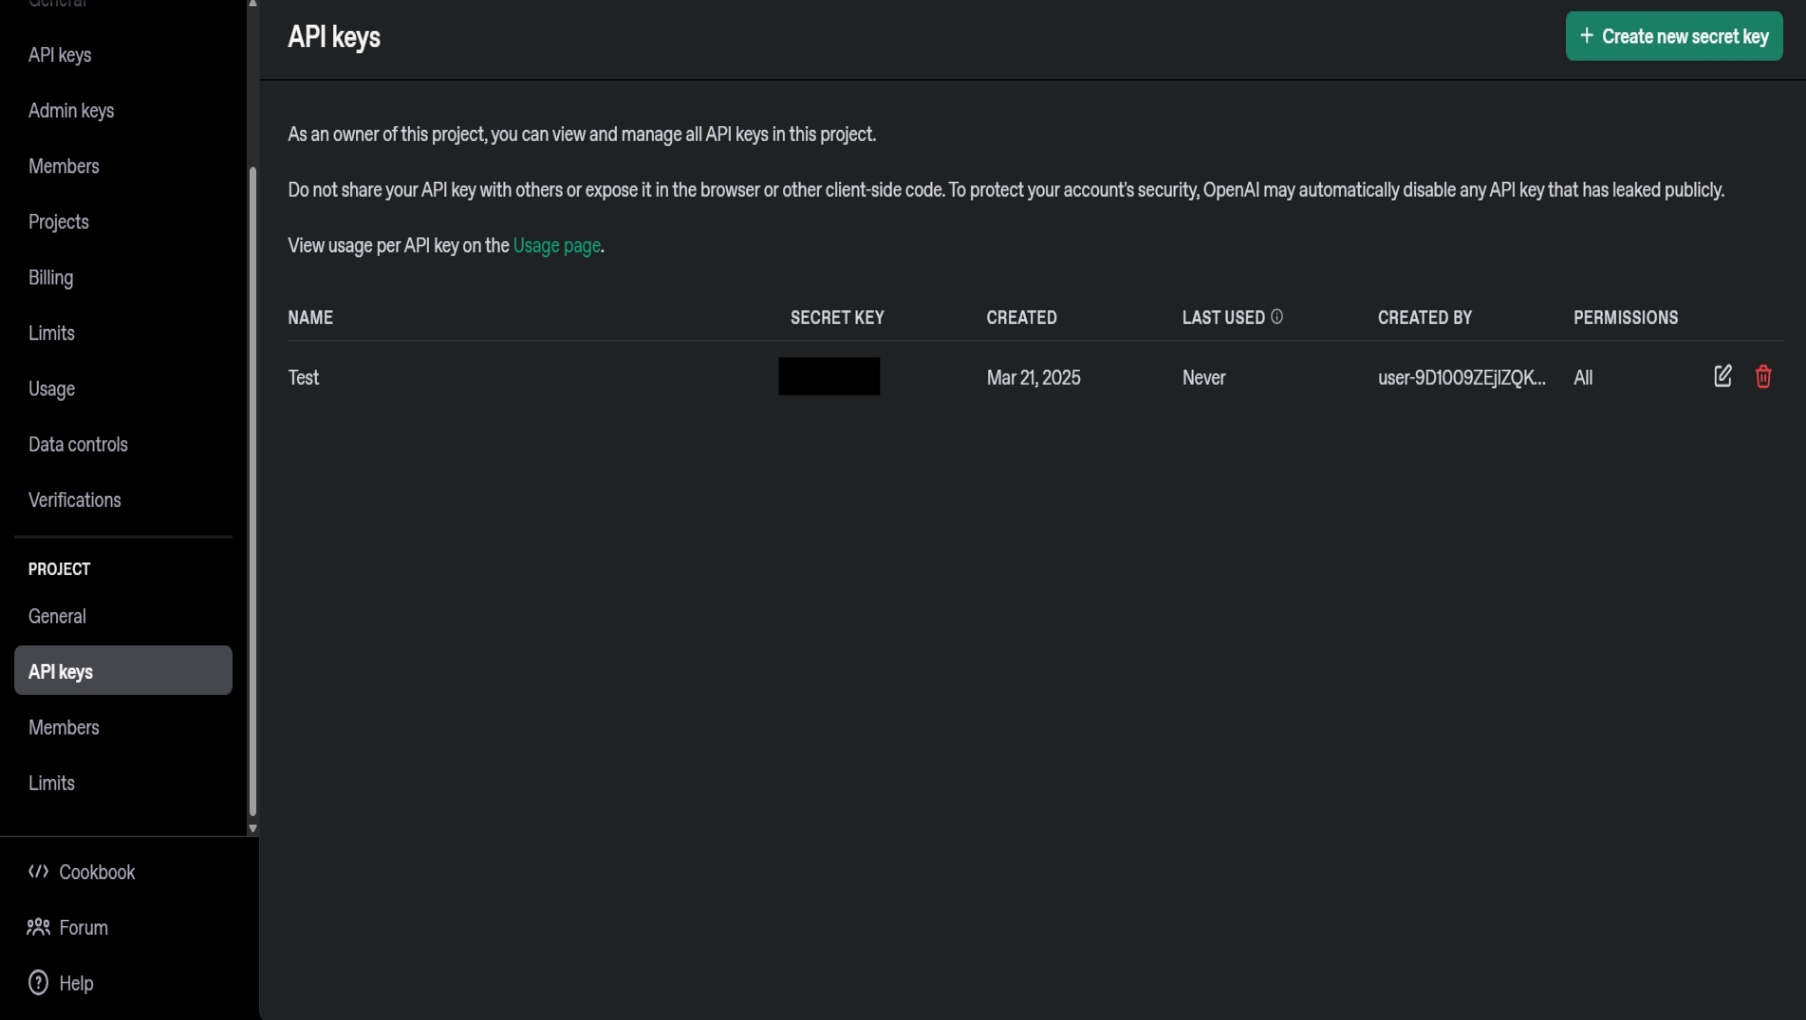
The page that opens will contain options to create new API keys. Click on the “Create new secret key” button in the center.

-
Enter the required details on the opened form. Choose the service account. The details include:
- Service Key Name(Optional): The name of the API key.
-
The Project for which the key will be used.
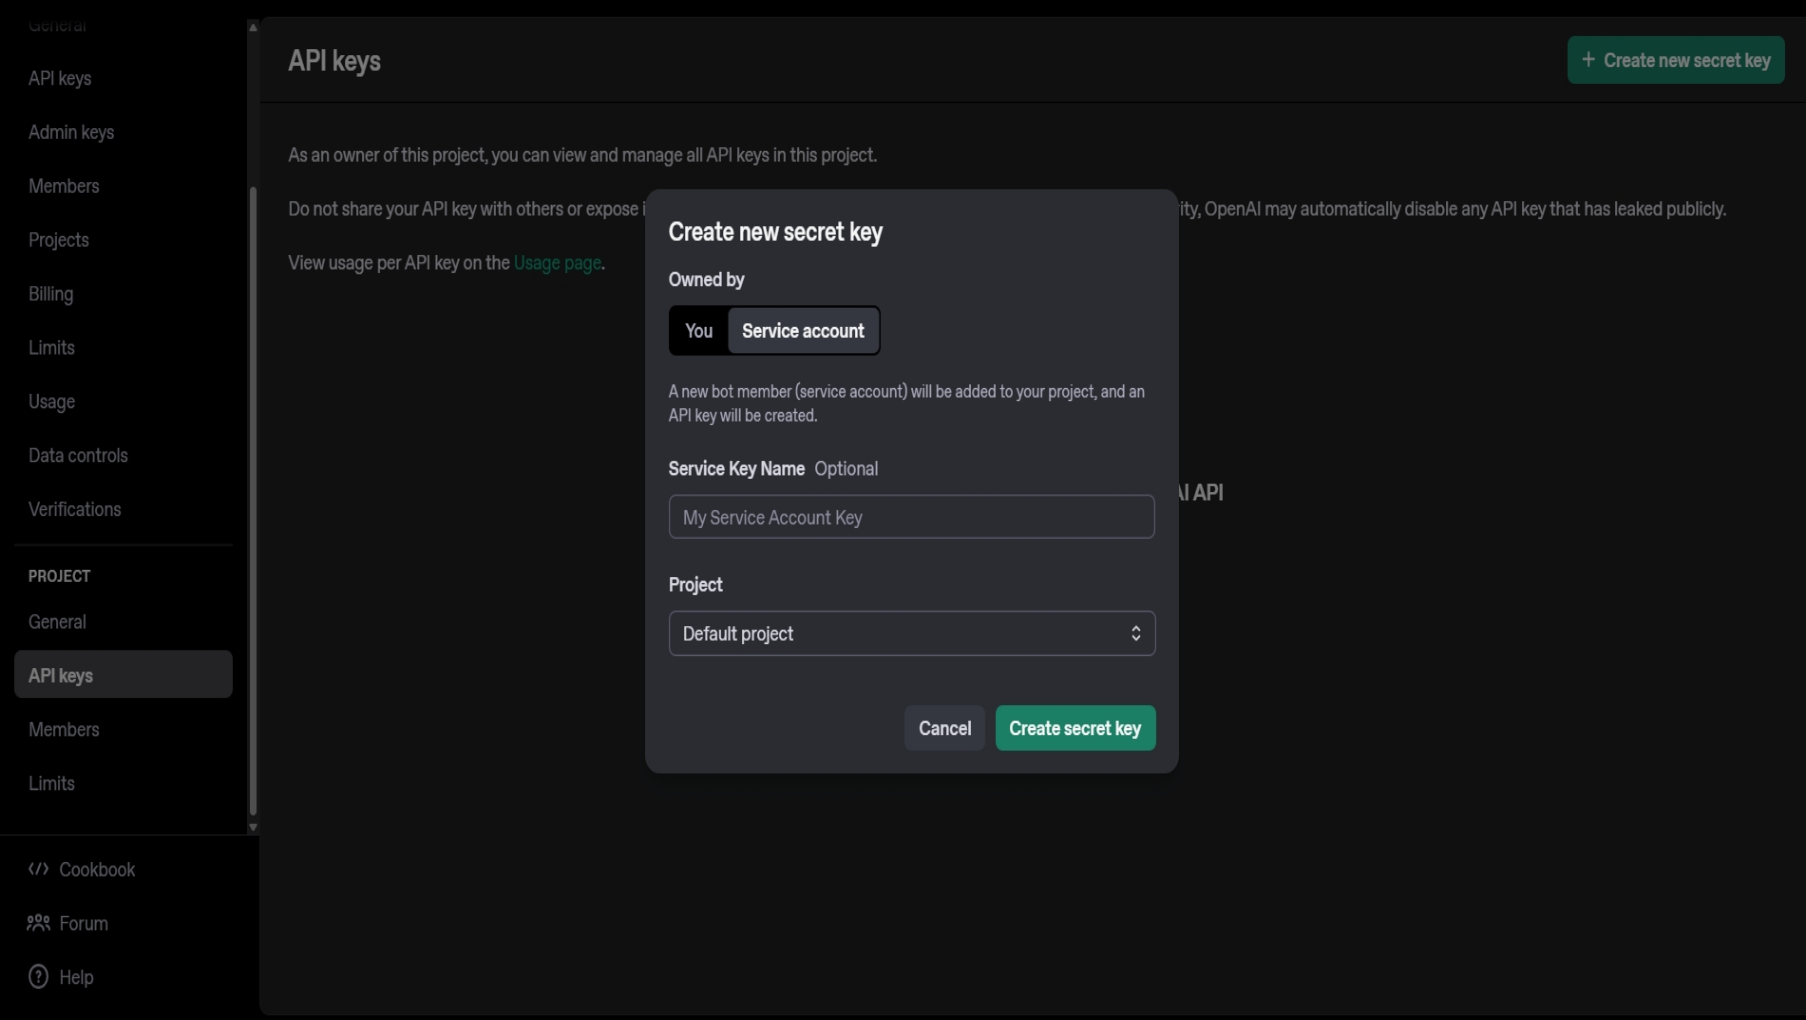
To add the names of projects, go to “Project->General” on the left hand side, right above the API Keys tab, and enter the name of the new project. -
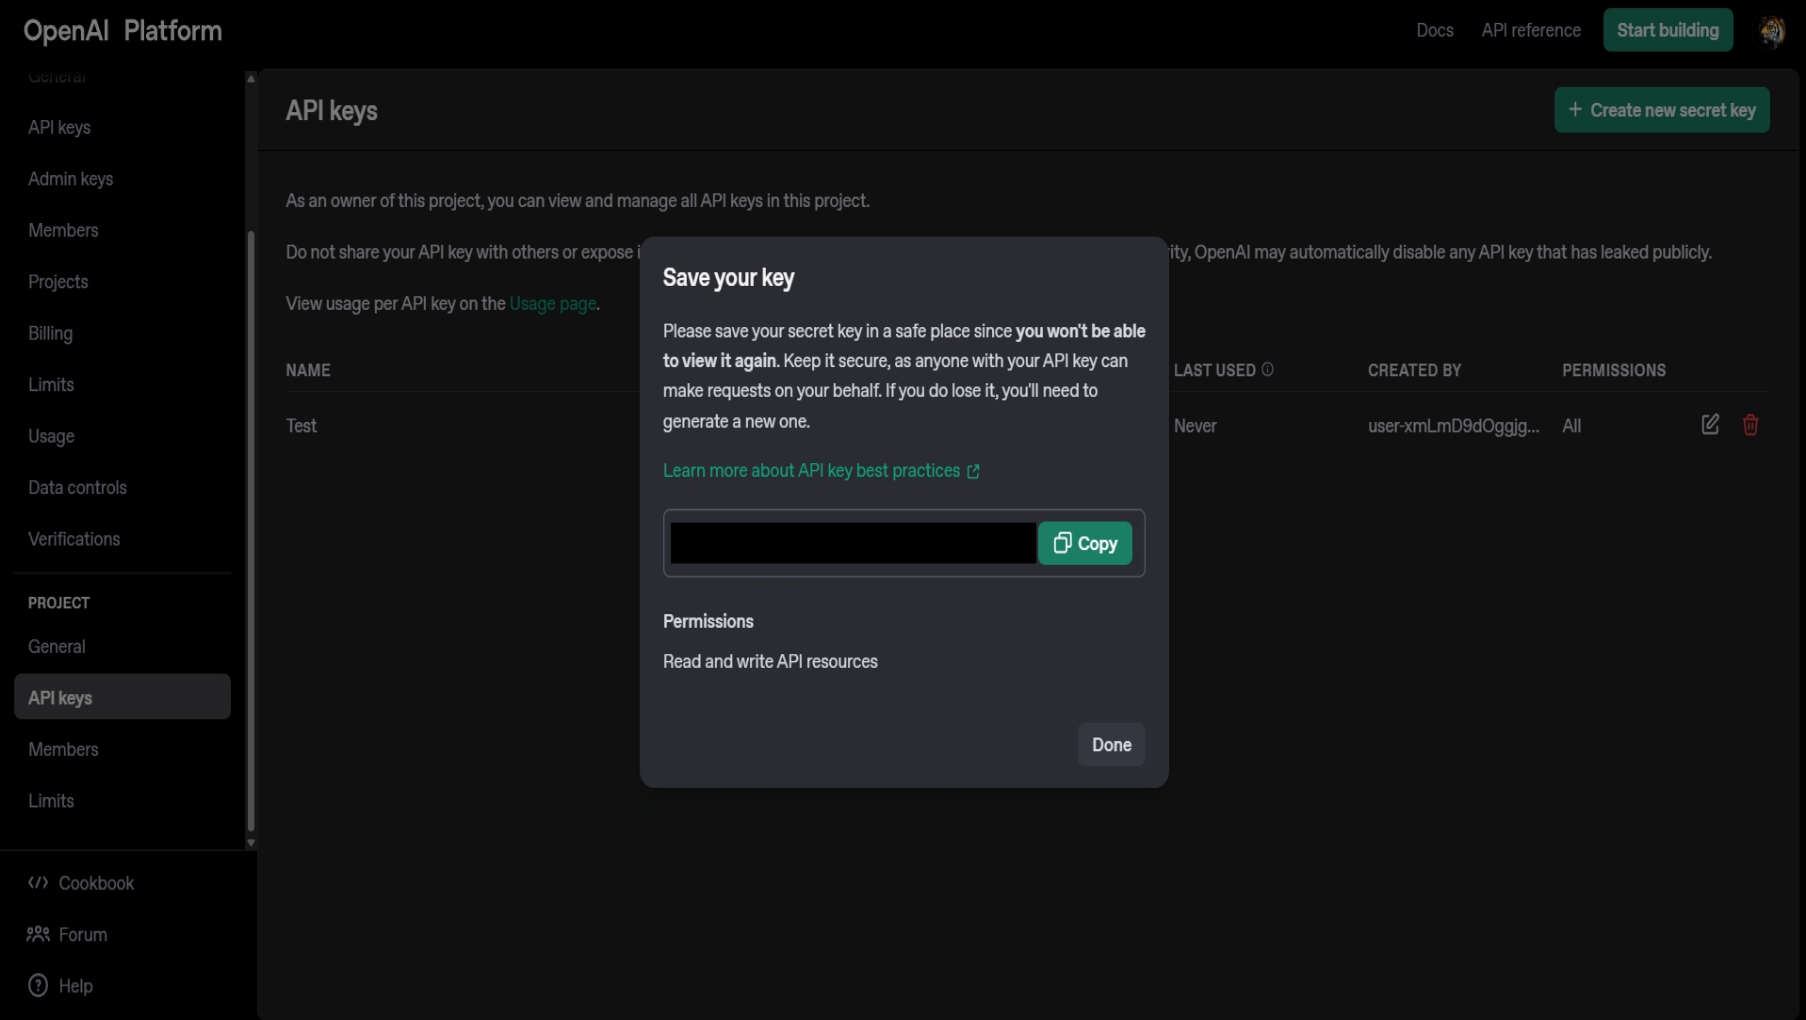
After entering the relevant details and clicking “Create secret key”, the secret key will be created. Save the key in a secure method, as you won’t be able to view it again.
-
Click on “Done”, and the following will be displayed:
Step 3 of 5: Adding Credits to ChatGPT:
-
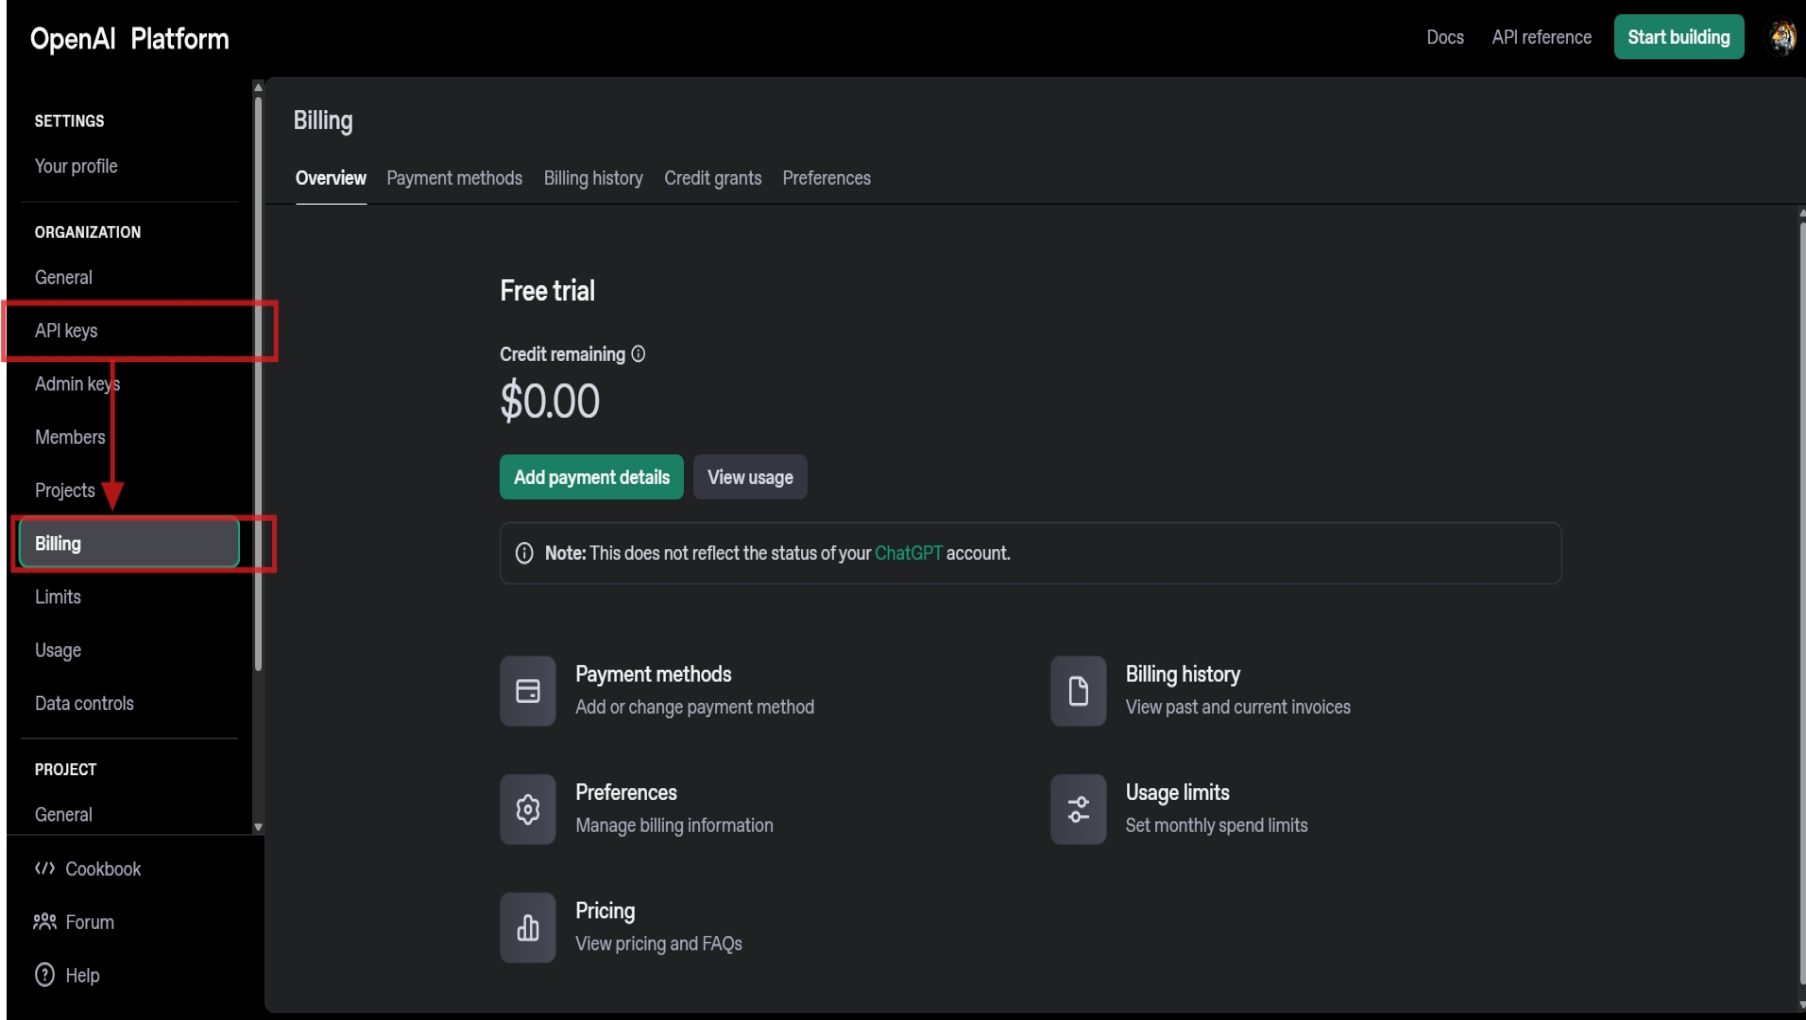
To add credits to your ChatGPT token, open the left hand sidebar. You will see a billings tab. Proceed to click on the “Billing” Tab.
-
Click on “Add Payment details” and input of details.
 The OpenAI platform only accepts credit cards as viable payment options.
 - Once all the details have been added, click on continue to save the details. Now, all your keys will have credits, and will be viable keys.
Step 4 of 5: Enter the API key in Cube6 to Connect with ChatGPT
-
Enter the secret key, and press Authenticate, to complete the integration of Cube6 with ChatGPT.

-
Also select which model of ChatGPT you want to have integrated with the bot. The o options for the same are:
- GPT 3.5
- GPT 4
- GPT 4 Turbo
- GPT 4o
- Assistants Beta*
-
Lastly, choose the from where you want the bot to gain its training/information from:
- General: Work just like a general ChatGPT
- Knowledge Base: Work only with the knowledge it was trained for.
- Knowledge Base With General GPT: Work with a combination of both.
- Click on connect. If configured properly, ChatGPT should properly connect to the bot.
-
Also, your ChatGPT integration will reflect the message Installed in the Integration List.
Step 5 of 5: Test your Integration Setup with Data
Once you have established a connection between Cube6 and ChatGPT, you are ready for your first NLP-enabled customer interaction. You can test your integration setup by creating a dummy lead on the bot.Still Not Working, Let’s Troubleshoot!
If you are getting blank responses or undesired responses :- Wrong Authorization Details- You will be required to check and see if all the authorization credentials, such as API Token, API key, and/or URL, have been entered correctly.
- Free plan- You are not subscribed to the paid plan on Cube6 or ChatGPT, as integration works only in the paid plan.
- Training Data- The training data you provided was ineffective or inept.